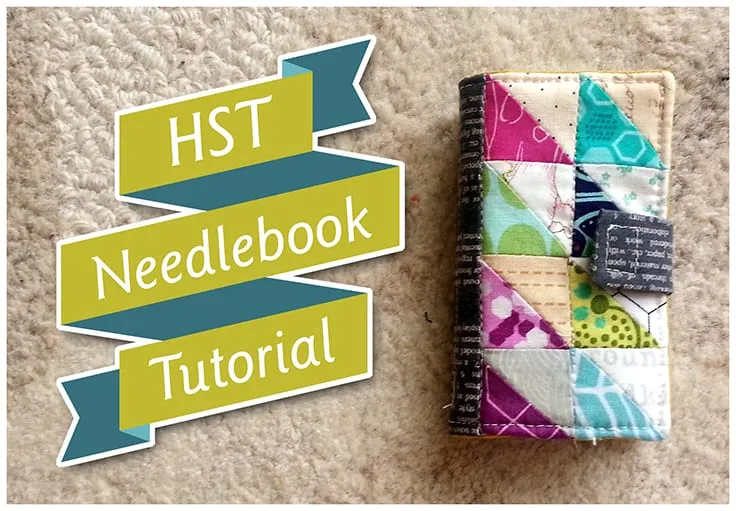
HST Needlebook Tutorial and Giveaway!
It’s been awhile since I’ve posted a tutorial so I’ve decided to do one for this little needle book I made for the Schnitzel and Boo mini quilt swap a couple weeks ago. It’s super cute, super fun and would make a sweet gift for someone special.
As a bonus, I’m also giving away the sample I made along with lots of other little goodies including fabric, a watercolor painting and some surprises!
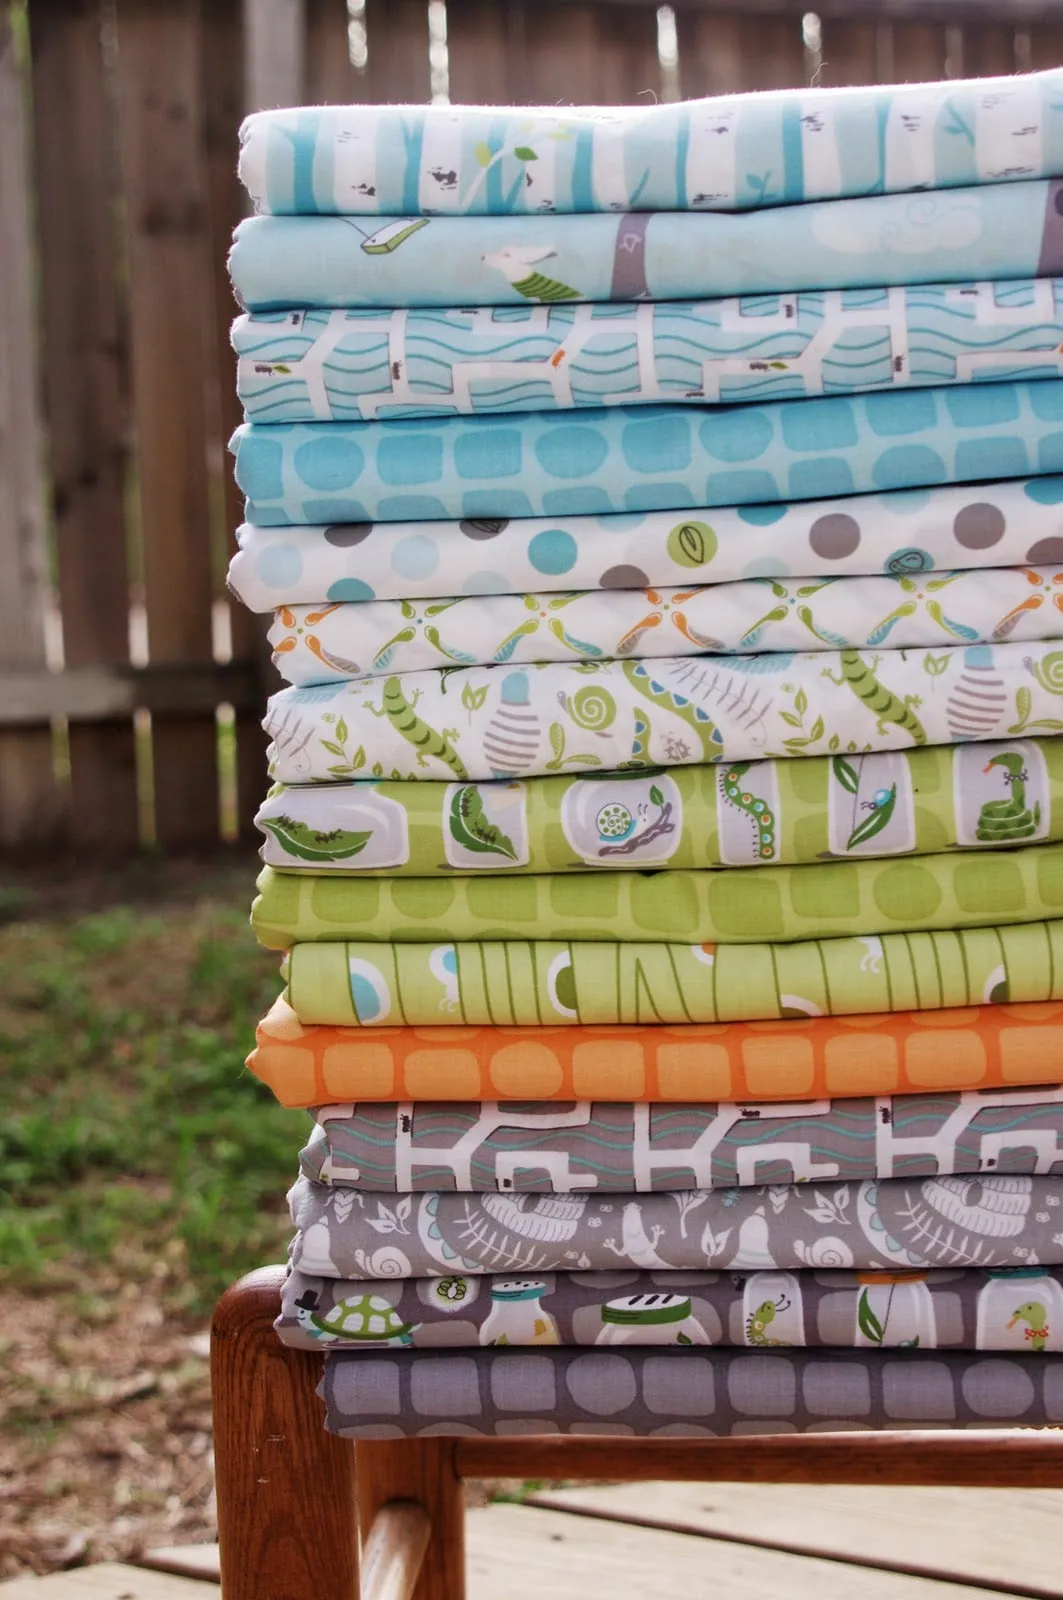
First, pick out some bright fabrics and some low volume or light fabrics. You’re going to cut eight 2” squares from each for a total of eight bright and eight low volume.
I like to use a method of making HSTs that yields two at a time. So, pair the fabrics up putting one bright square and one low volume square right sides together and draw a line diagonally from corner to corner. I use a mechanical pencil, but you could use a disappearing or water-soluble pen too.
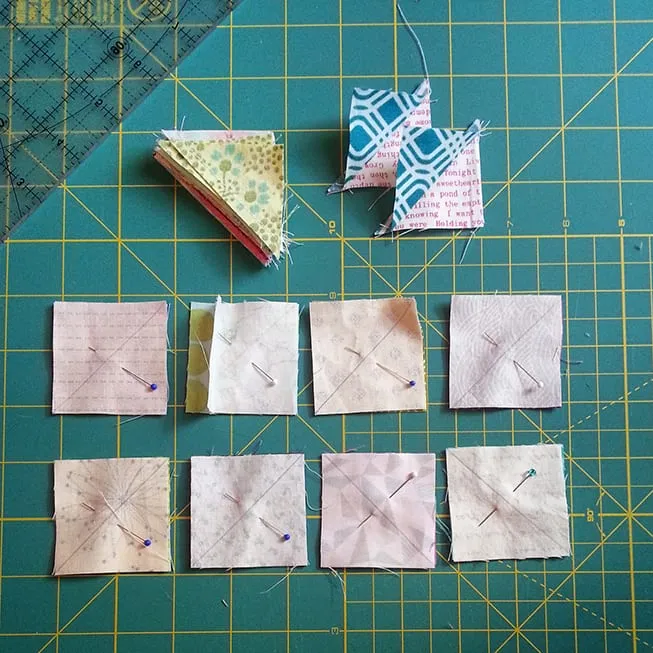
Sew a parallel line of stitches a scant 1/4” away from either side of your drawn line (I like to sew my seams just under a 1/4” since the pieces are so small and to give me a little more wiggle room when trimming them down). Cut along the drawn line and press open. You now have two matching HSTs!
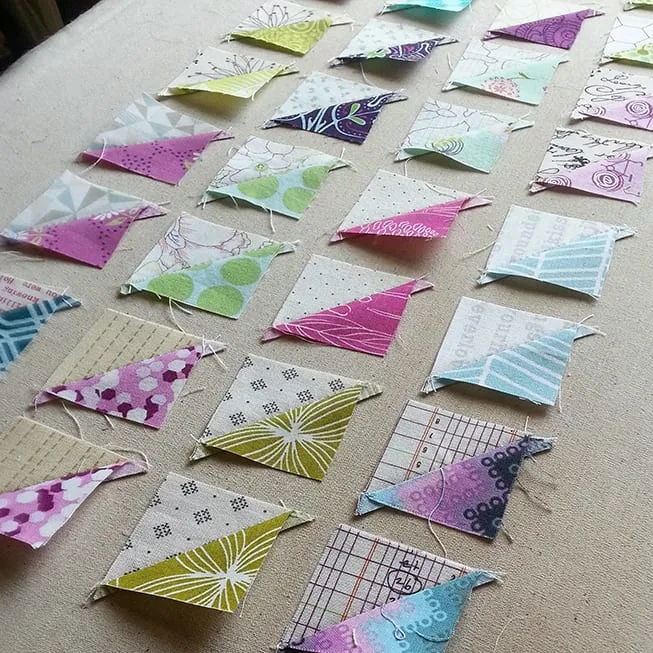
I made enough for two needle books, aren’t they cute all lined up?
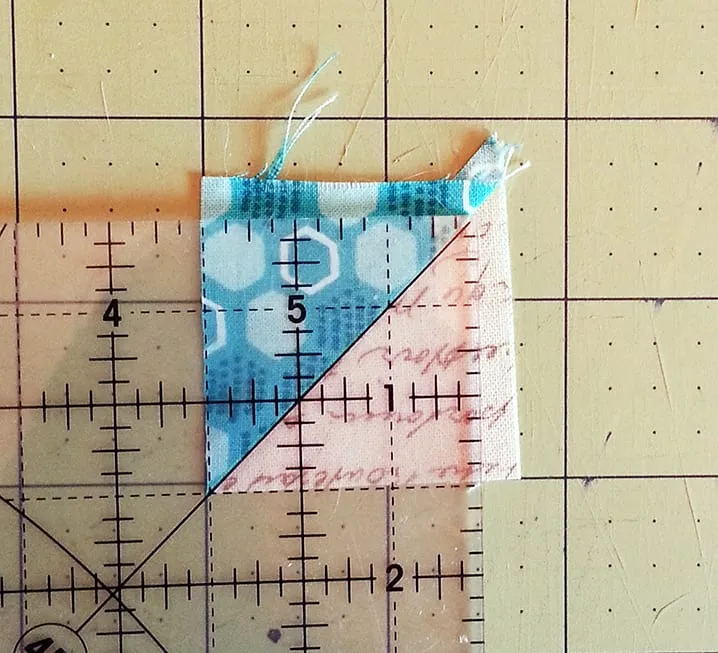
They’re a little bigger than they need to be so you can trim them down to a perfect 1 1/2” square. Believe me, when you’re piecing together something this small having accurate sizes and seams makes a difference.
Trim them and arrange them into two sections of eight, two across by four down. One section will be for the front and the other for the back.
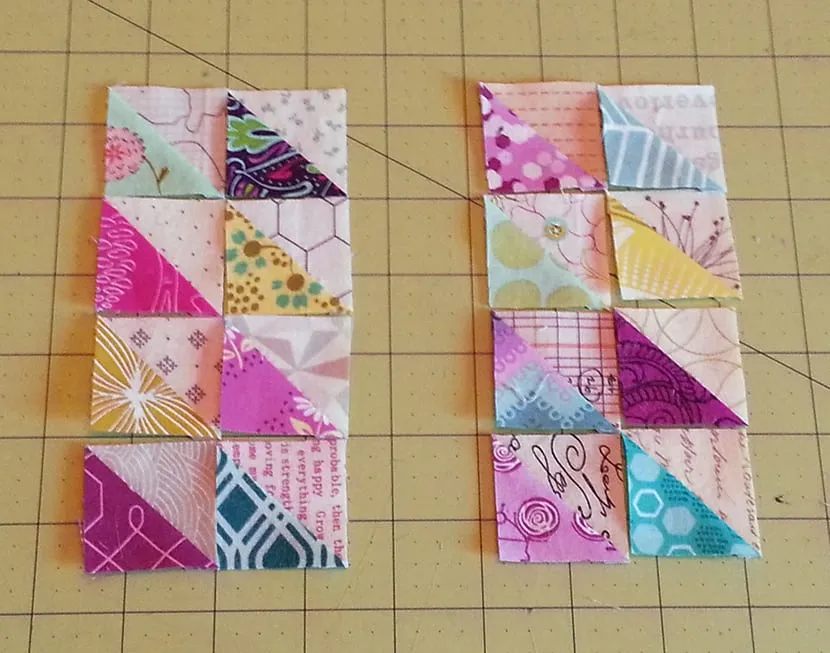
Once you’re happy with the placement, sew them together. Next cut out a 2” x 4.5” rectangle for the spine and place it between the two HST sections. This is the time to make sure your directional fabrics are going the right way. As you can see in my finished photos, I failed miserably at this part!
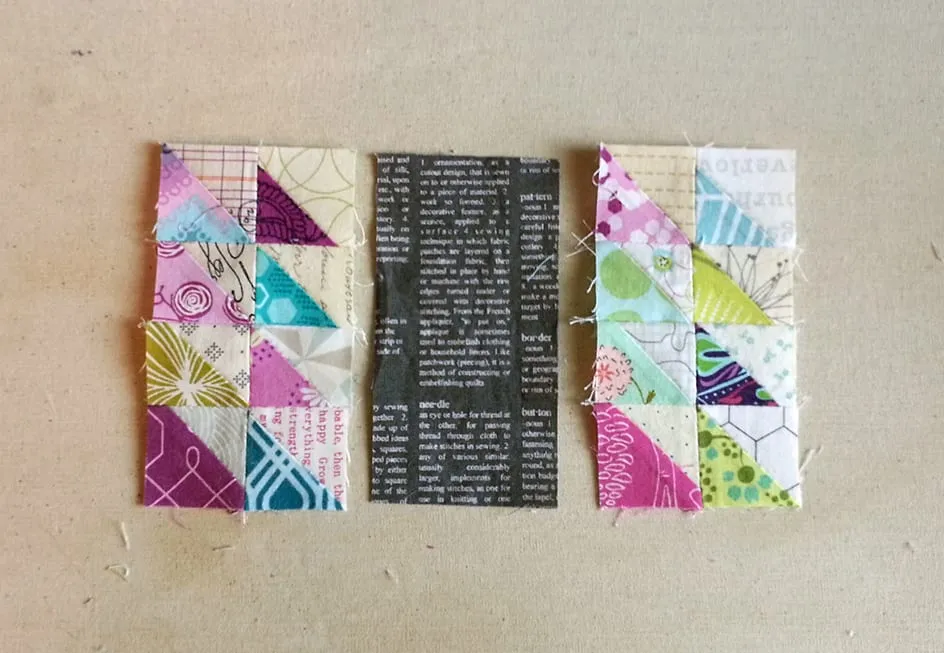
Go ahead and sew the two HST sections to either side of the spine.
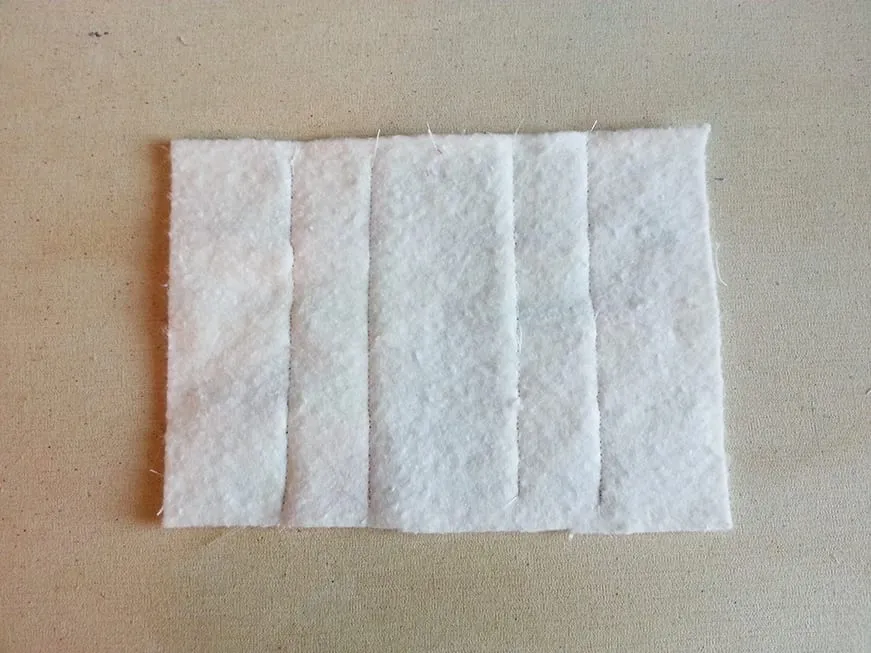
Next, cut a piece of batting slightly larger that your needlebook cover, pin them together and quilt however you like. I simply stitched in the ditch on all the vertical seams, but be as creative as you want.
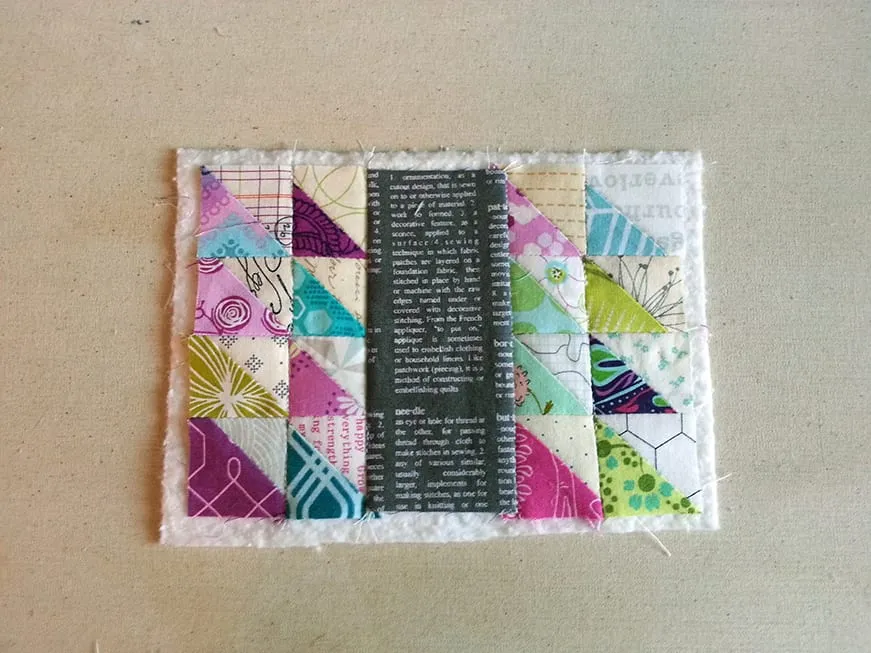
Here’s a look at the underside if you’re curious…
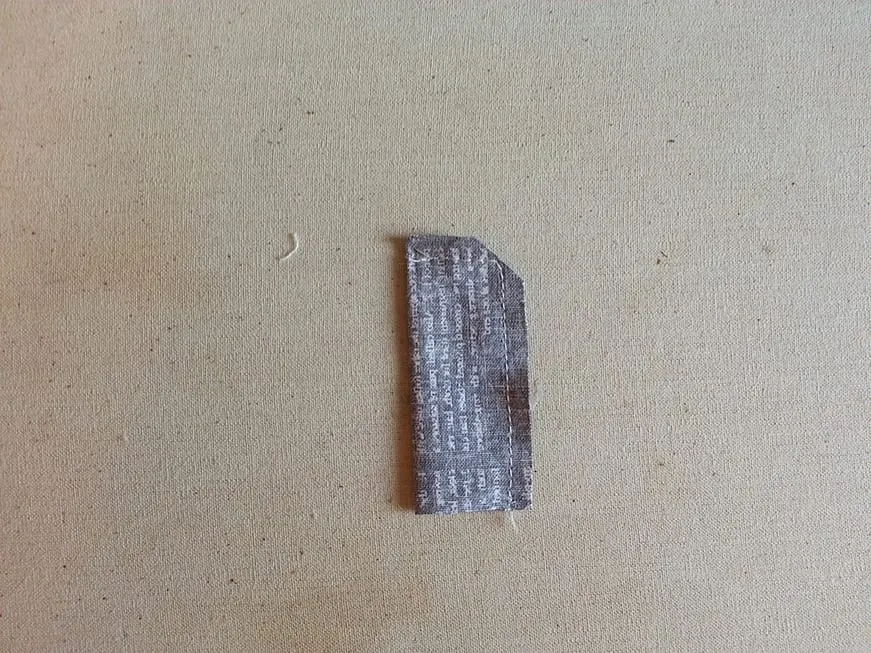
Next, you’ll need to sew the strap. Cut a 2”x 1.5” square of fabric, fold in half longways and sew one short and one long side together using a 1/4” seam allowance. (Keep in mind if you’re using directional fabrics which way is going to be up. Again, you’ll see I failed at this detail, too!) Clip corner and flip inside out.
Cut two little pieces of velcro about 1/2”or so square and sew to the needlebook front and the strap as shown. I tried to keep my stitching as close to the edge of the velcro as possible without going off. Remember that the stitching on the strap will be showing on the front of the needlebook when it’s closed.
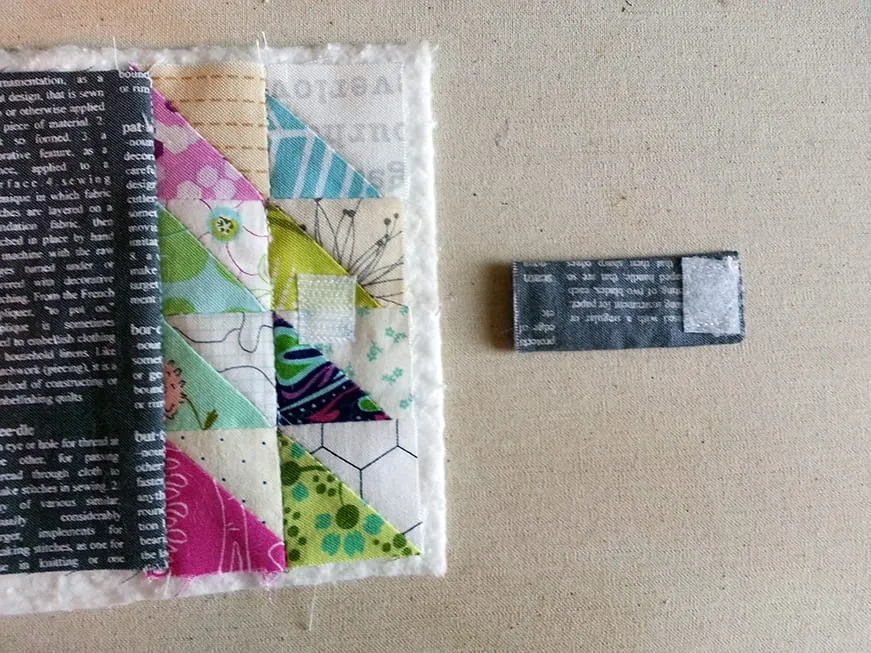
At this point, I squared and trimmed my needlebook front, but you could also do it right after you quilt it, not sure why I didn’t.
Place the strap velcro side up, centered on the back of the cover as shown and stitch in place 1/8” from the edge. That way it won’t show when you sew the front to the back later. Trim off any excess strap hanging over the edge.
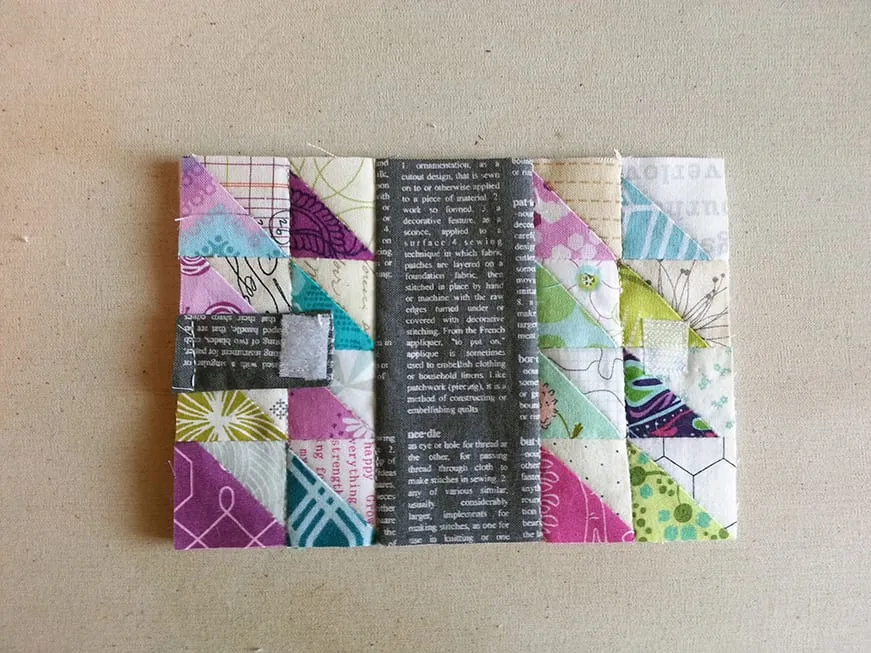
We’re almost done! Next cut a piece of fabric for the interior of your needlebook that matches the size of the pieced front. It should be approx. 6” x 4.5”. Place the front, quilted piece and your interior piece of fabric right sides together.
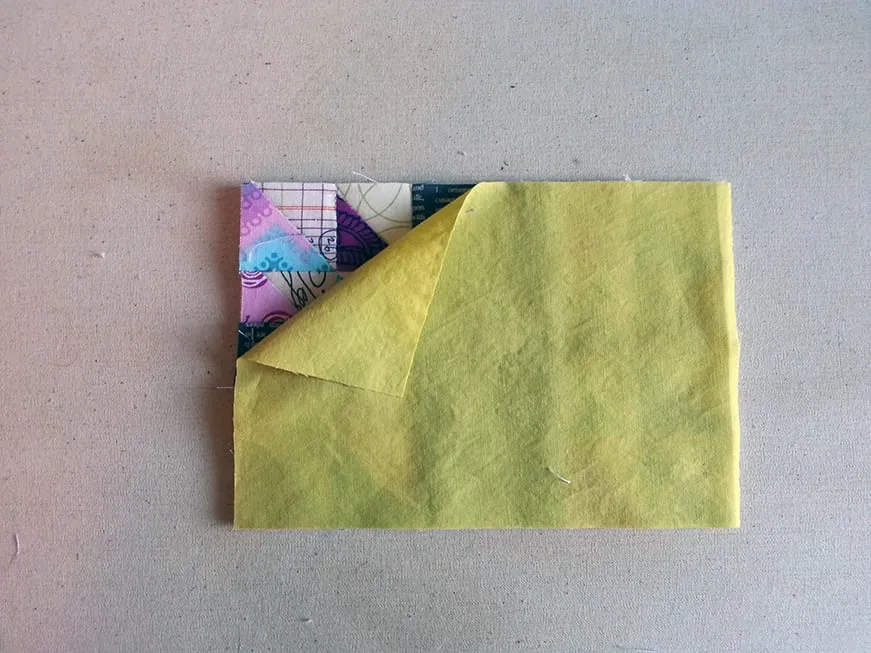
I’m a big pinner, as you can see. I’m not very good keeping things in place as I sew, so I really like to overdo it. :)
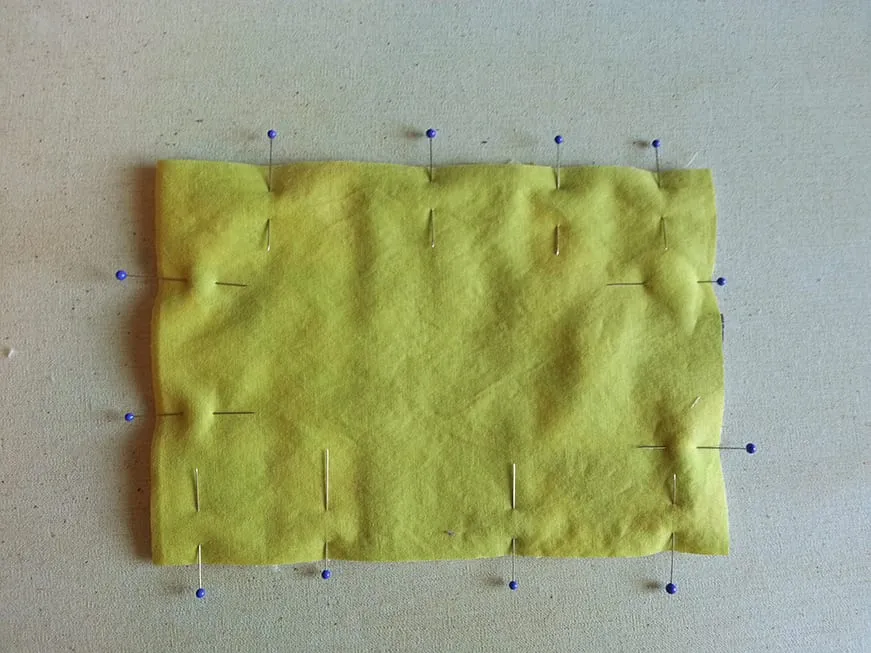
Sew around all 4 edges using a 1/4” seam, leaving a small gap through which to turn it.
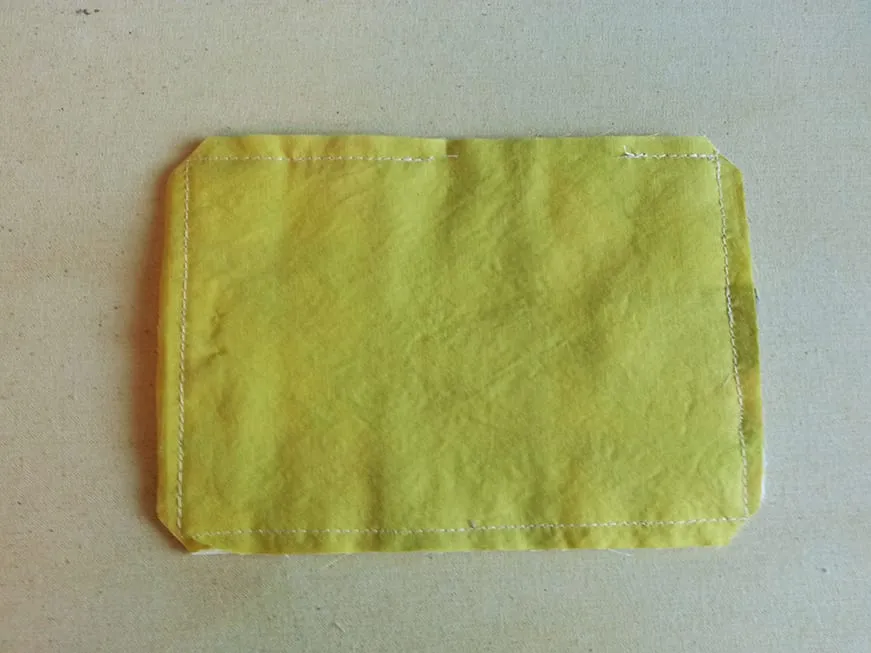
Flip inside out and top stitch right next to the outer edge. This not only looks nice but will close the gap you used to turn it inside out.
Your needle book is starting to look like a little book!
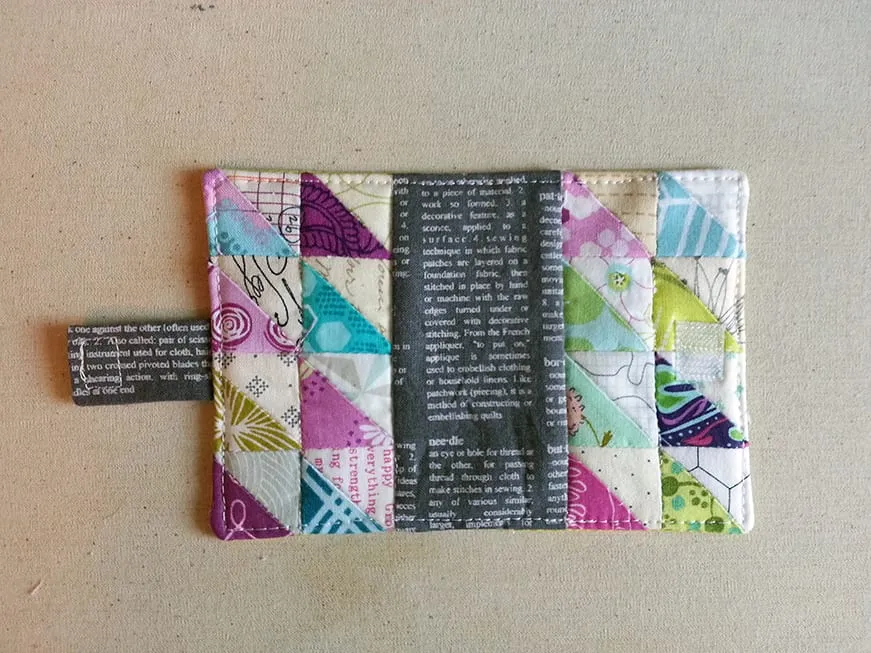
Just add a piece of felt (or two) by stitching directly to the interior of your book straight down the center as shown.
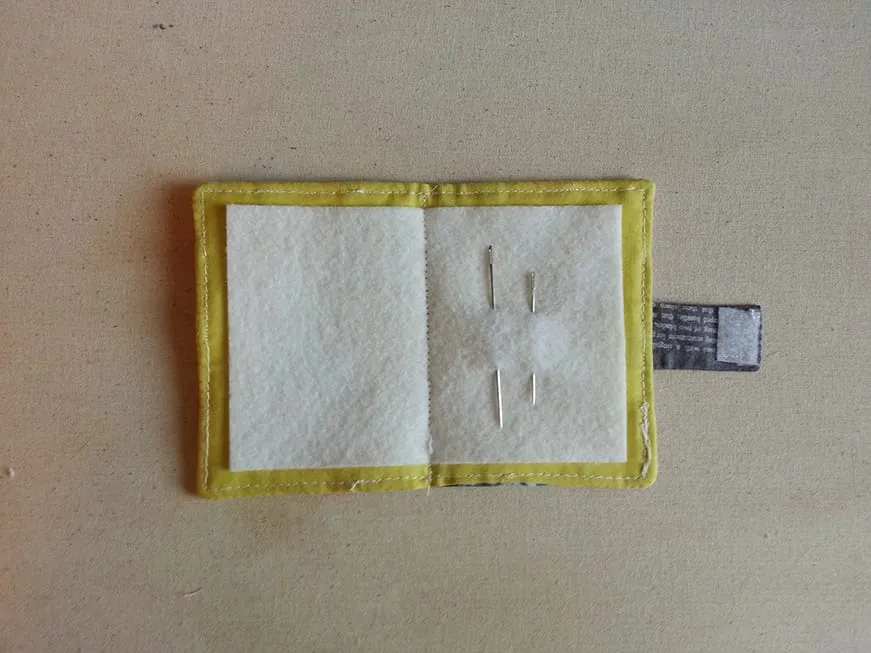
And voilá, you’re done!
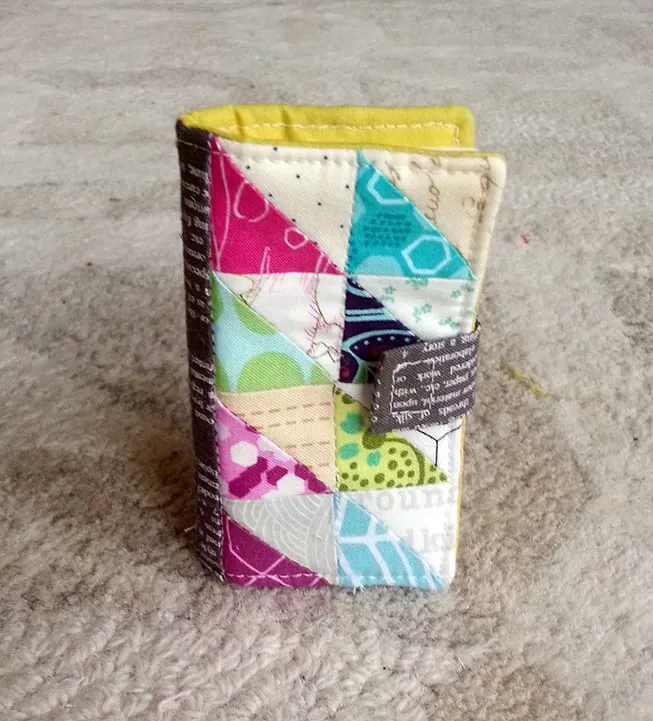
Now for the Giveaway Part!!!
As I mentioned in the beginning of the post, I’m also giving away this little needle book along with a goodie bag full of fabric scraps from all my collections (Backyard Baby, Bella Butterfly, Les Amis and my most recent one, Emma’s Garden.) There will be some other surprises in there as well, including original artwork. It’s going to be fabulous!!
Simply leave a comment below and I’ll pick a random winner Friday (*edited) morning, the 18th at 11 am CST!